Cloudfront Origin Access Identity (OAI) – What is it and How to use it
You might have worked upon a use case where your S3 Bucket is a public bucket for Content/ Media Files or else you have hosted a public website on S3 Bucket. In this case, you will keep bucket access open for all GET Requests, because everyone should be able to download the content. You will also attach a Cloudfront Distribution ahead of it to utilize Content Delivery Network.
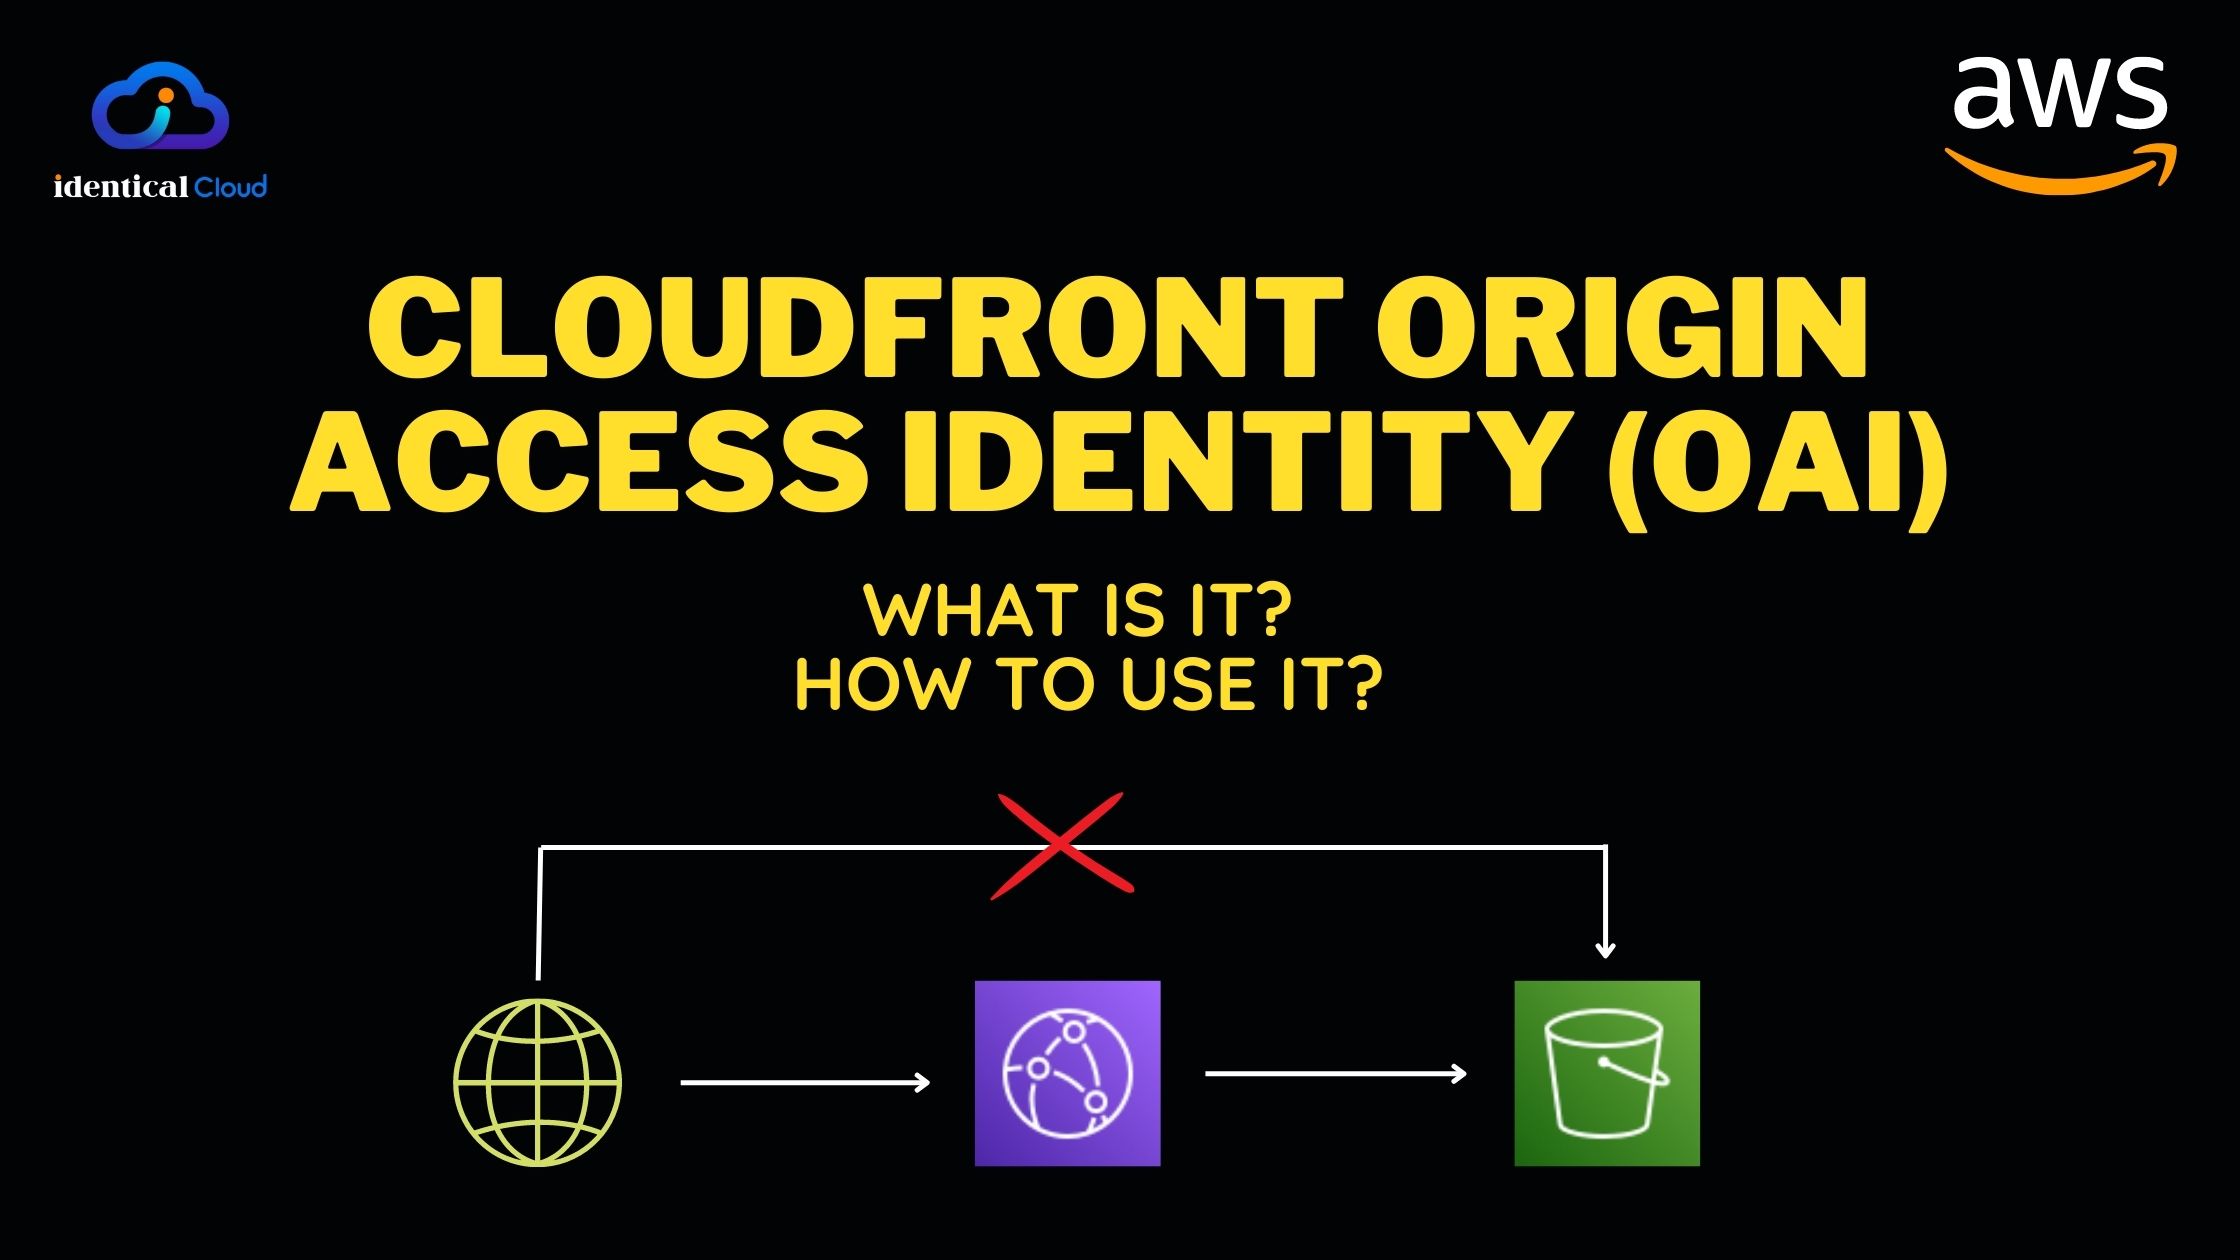
But in the above case, you miss out on one important thing, You use Cloudfront URL or your own CNAME, and users access it via that. But by any chance, if your bucket name is exposed. then users can directly access content from the S3 bucket as well. This might create some issues with how you want users to access your site.
AWS has recently introduced OAI for Cloudfront, which means Origin Access Identity, with help of which, you can restrict your S3 bucket to only serve content if it has come from particular Cloudfront Distribution, and hence allows users to access content via Cloudfront only while maintaining S3 bucket to be directly accessed.
AWS has recently introduced OAI for Cloudfront, means Origin Access Identity, with help of which, you can restict your S3 bucket to only serve content if it has came from particular Cloudfront Distribution.
Let’s walk through how to achieve it.
Pre-requisites
- You have an S3 bucket created to serve public files
- You have Cloudfront distribution created for mentioned S3 Bucket
1. Cloudfront OAI Enable
- Let’s edit our created Cloudfront distribution
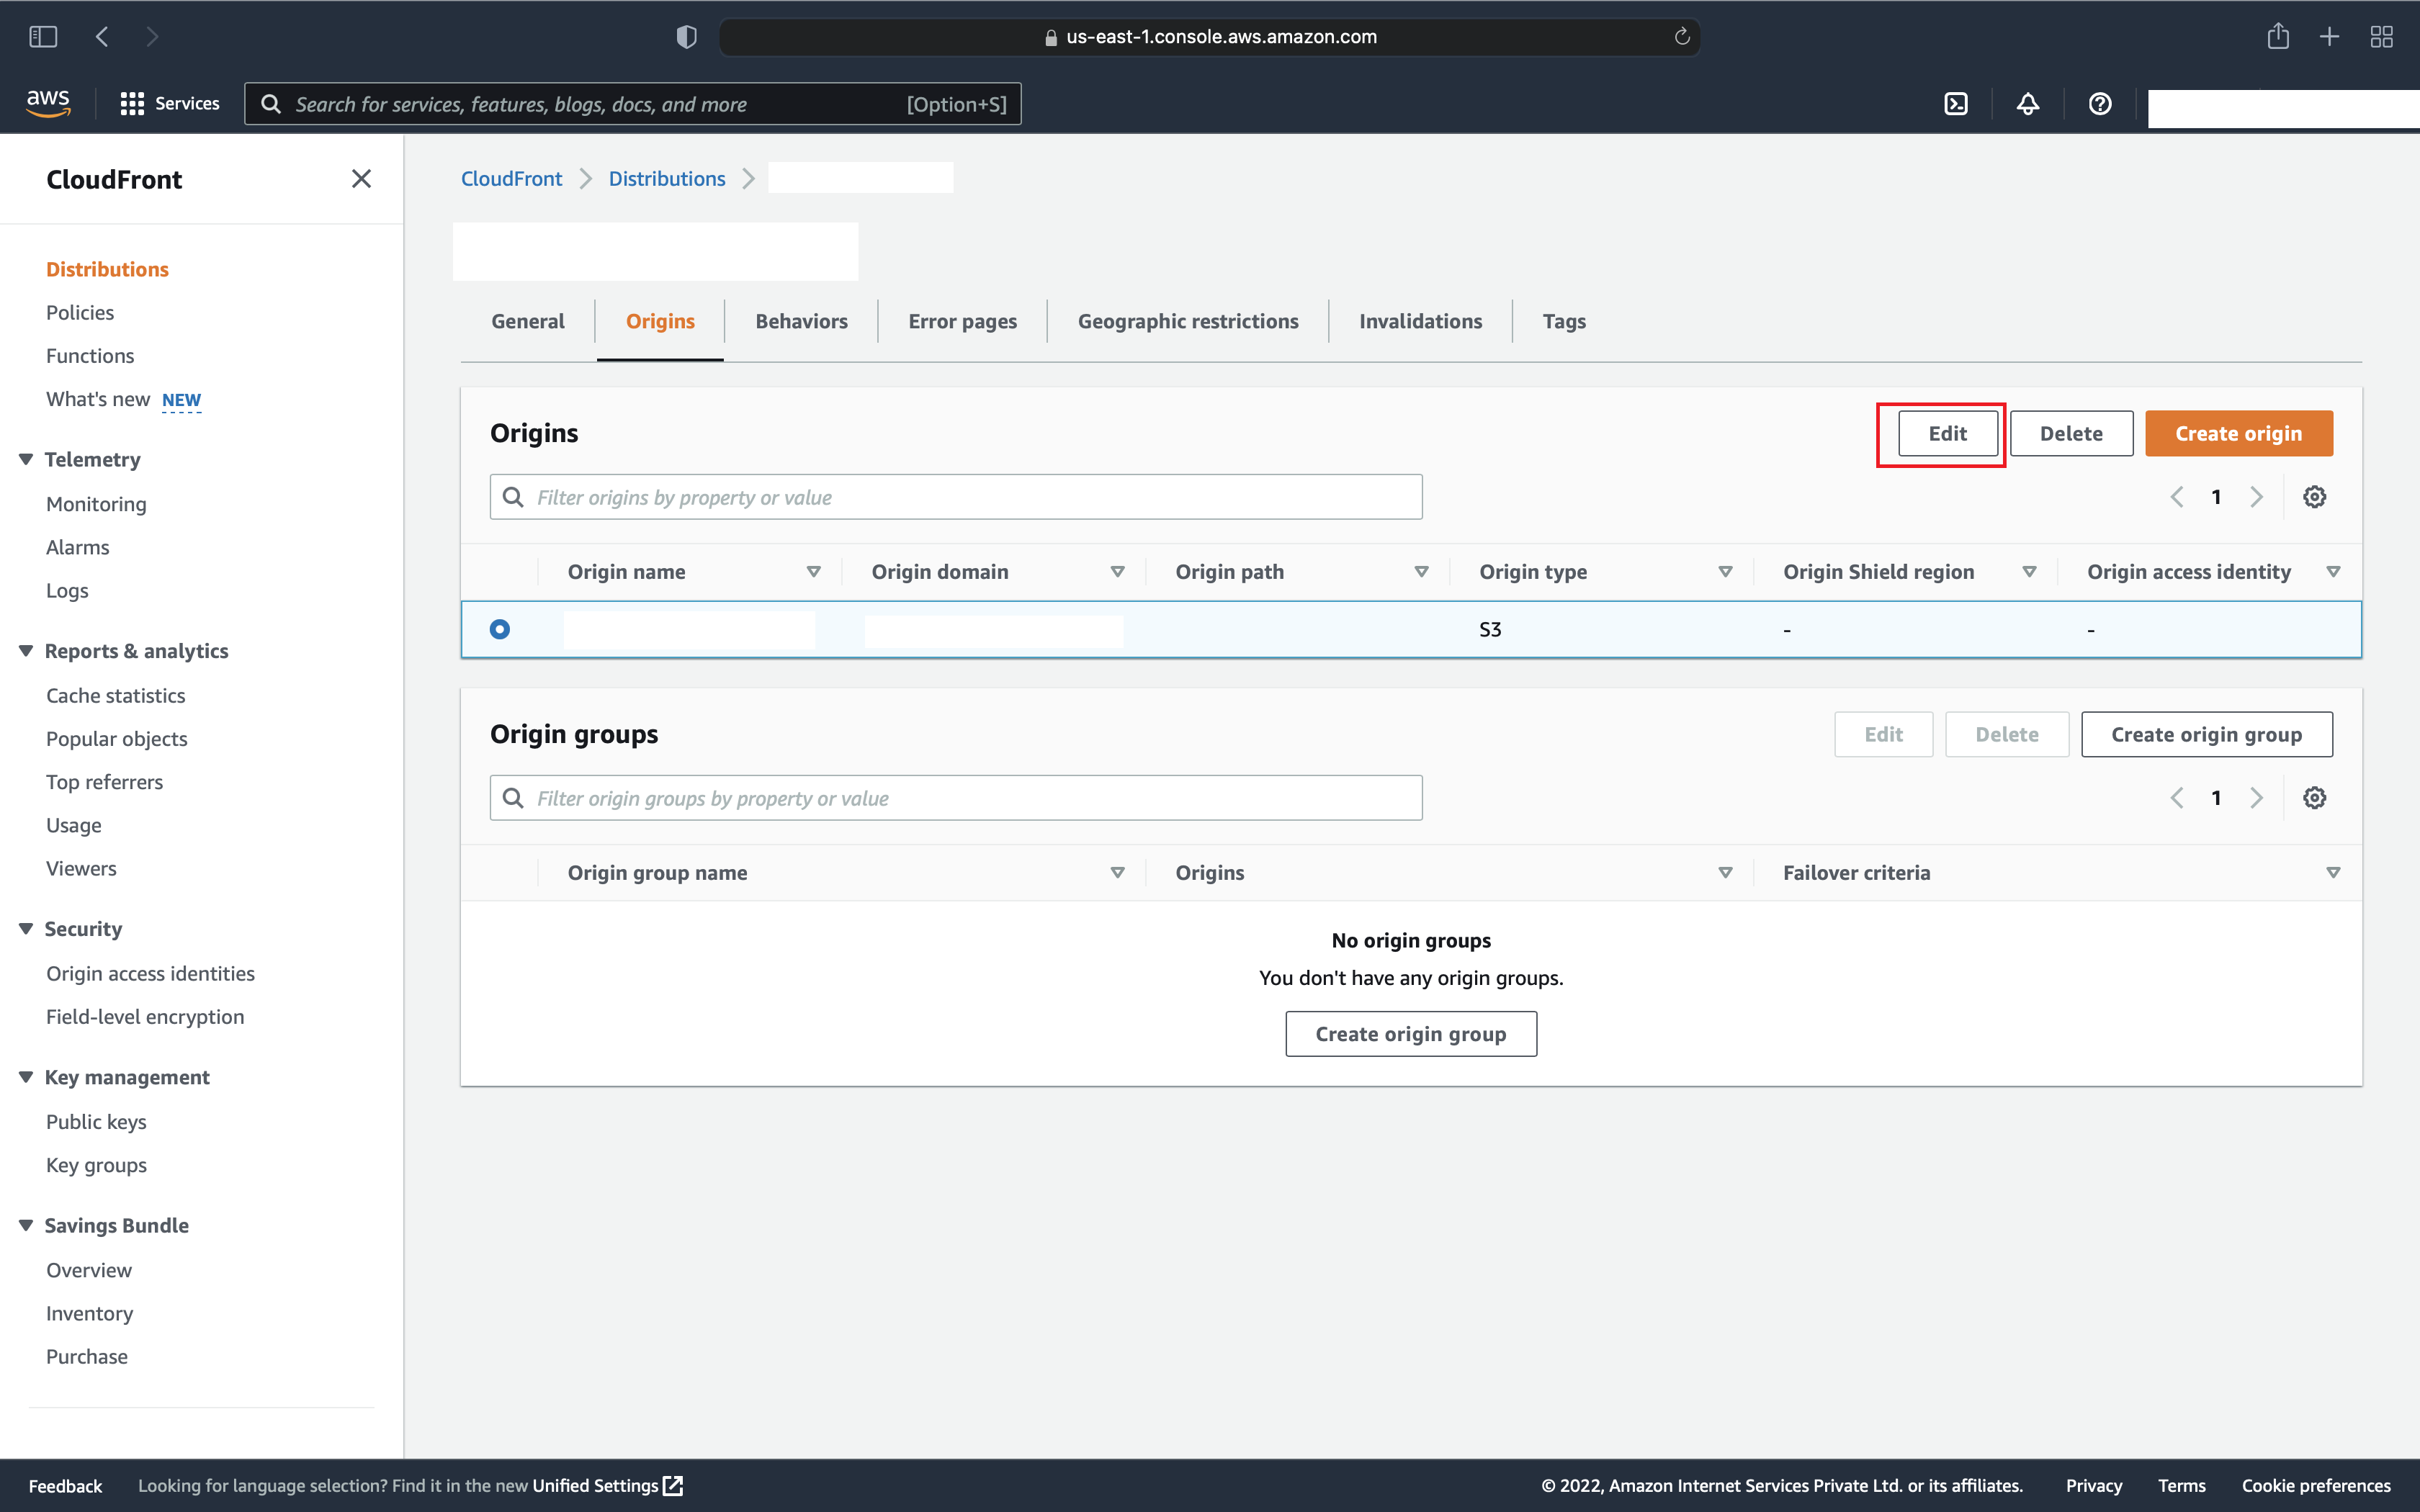
- Go to Origins Tab
- Select “Origin” and Click on “Edit”
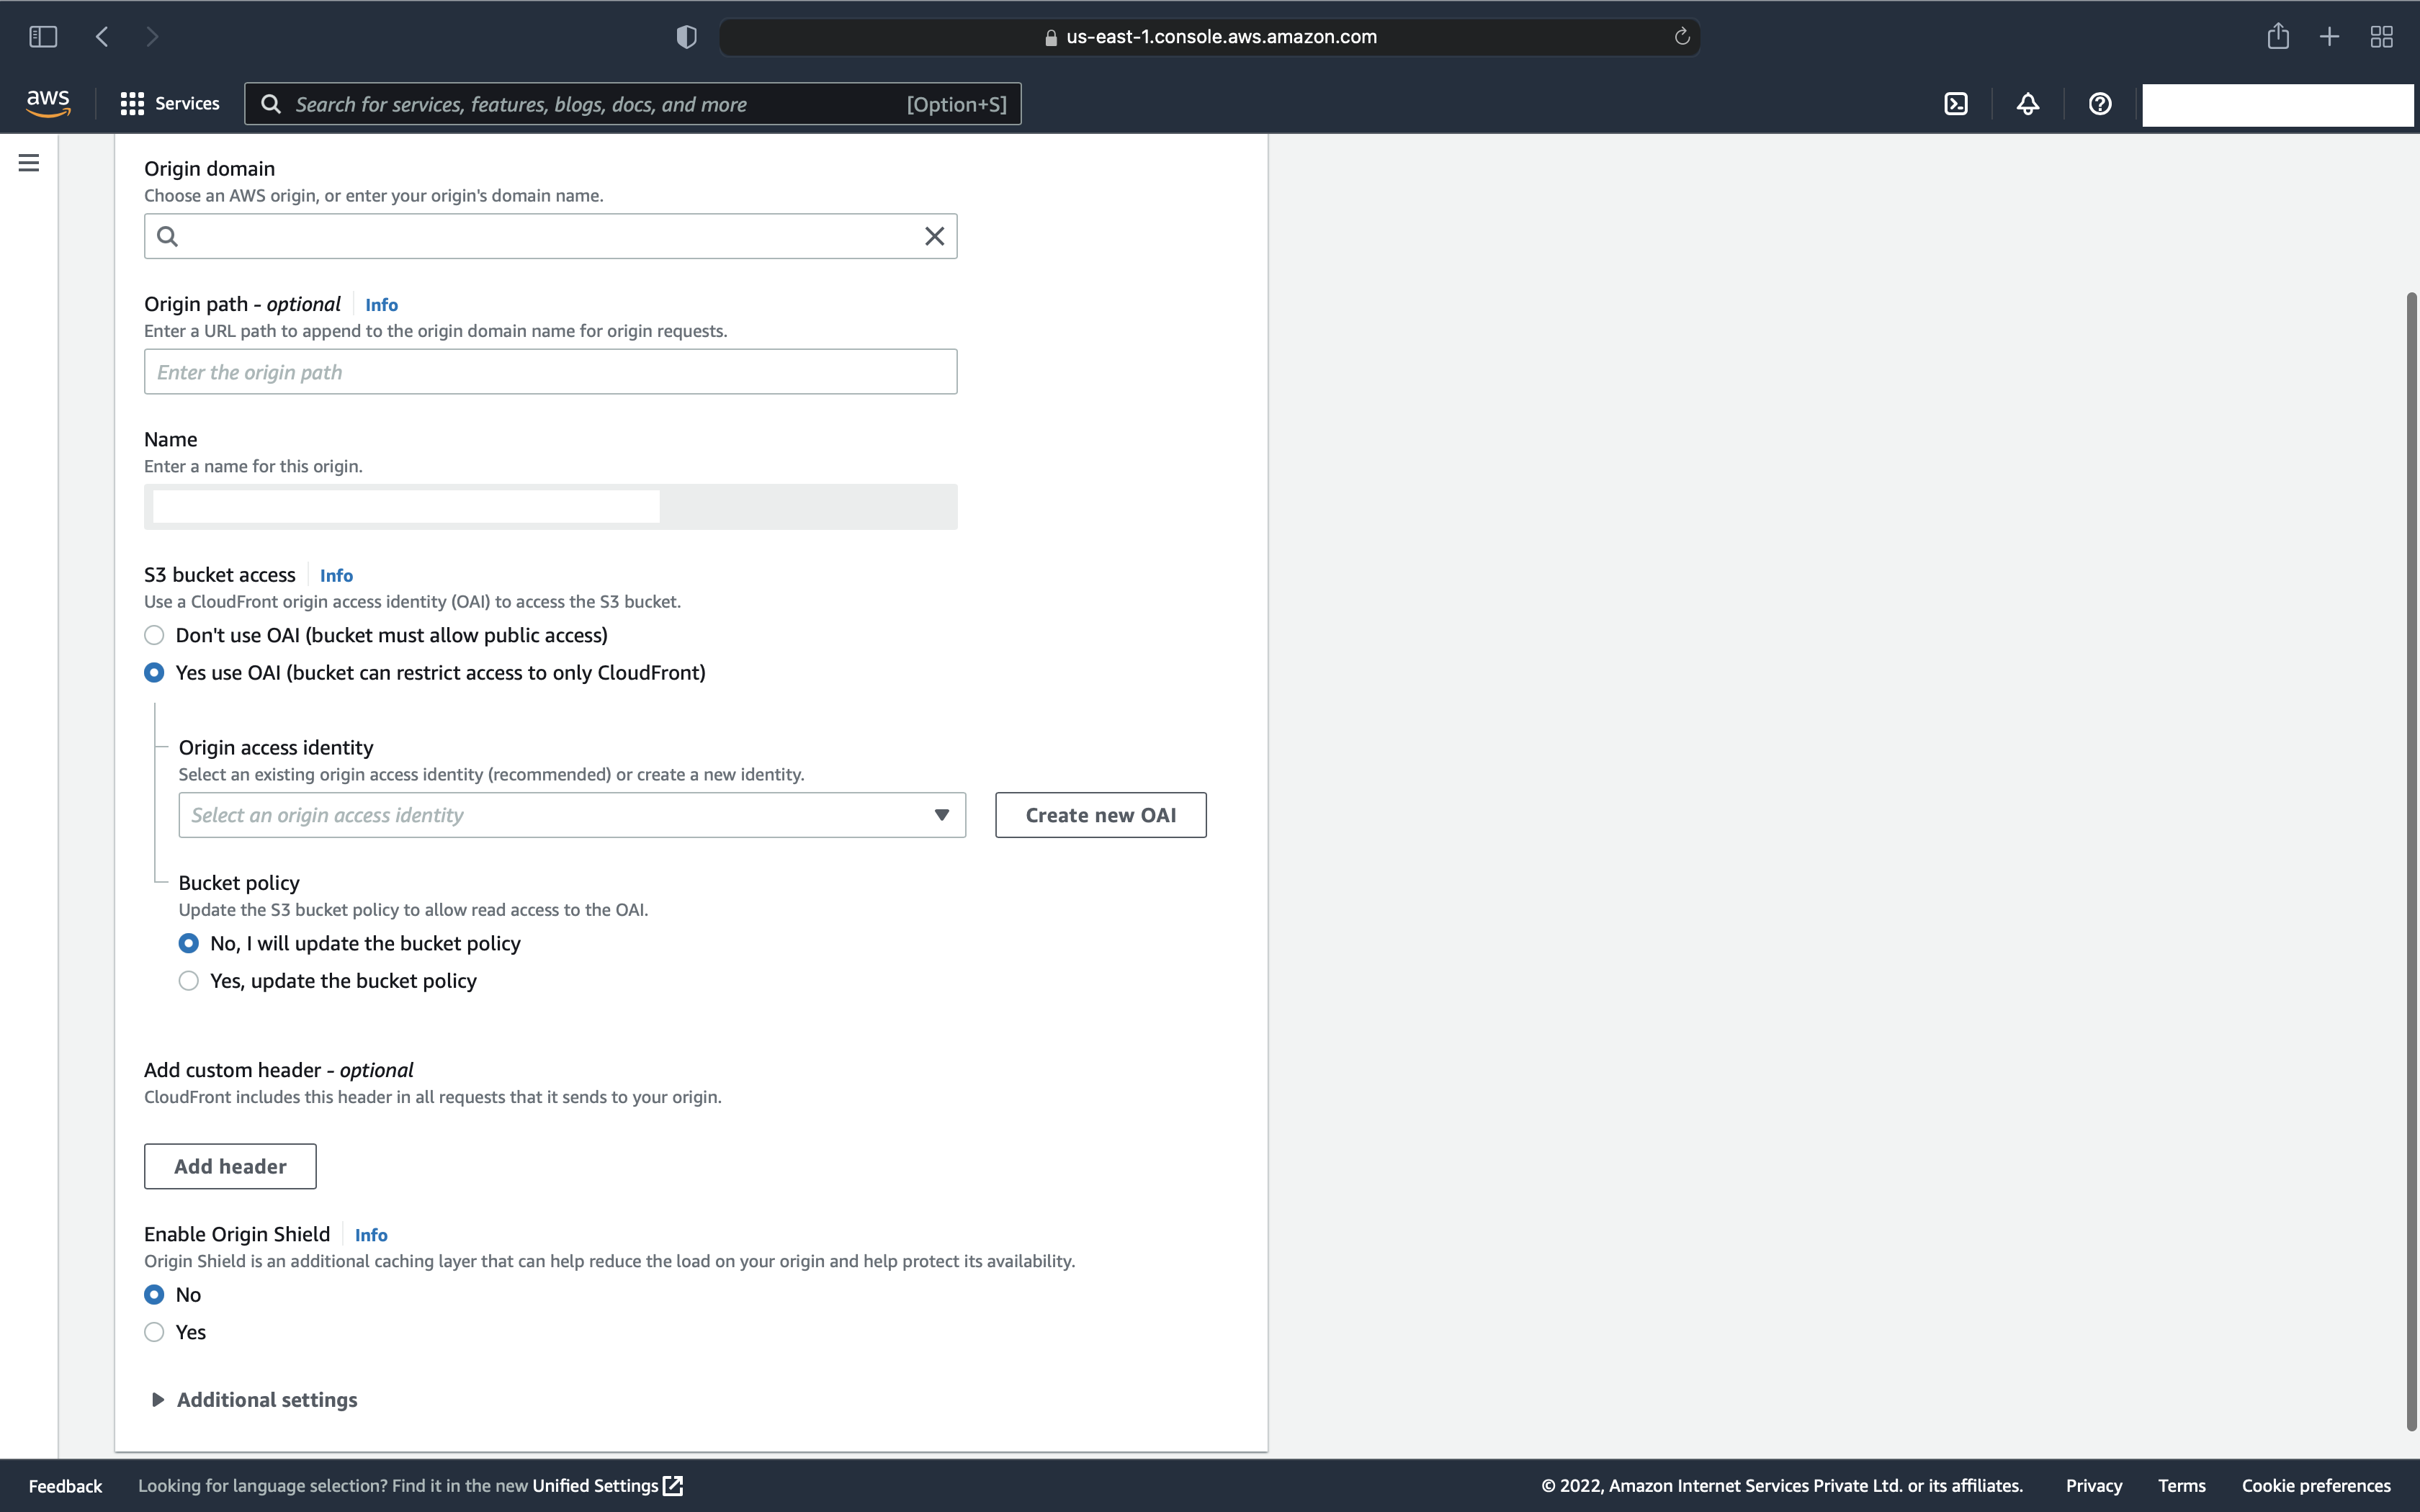
- Find option “S3 bucket access” and Select “Yes use OAI (bucket can restrict access to only CloudFront)”
- It will ask to choose existing OAI or create one, as we are starting fresh, we don’t have OAI created and we will create one
- Click on “Create new OAI” and it will ask you to name it, select the default name and click on “Create”
- Once it’s created, the next option is to update the bucket policy to make it allow access from this OAI
- You can select “Yes, update the bucket policy” and it will automatically add a required policy to your S3 bucket, but it will keep all other S3 bucket policies as it is.
- If you want to manually edit the bucket policy and remove the current policy, select “No, I will update the bucket policy” and “Save Changes”
2. S3 Bucket policy changes
- Let’s manually add the required bucket policy in the S3 Bucket in the next steps
- Go to S3 Bucket
- Go to the “Permissions” tab and find “Bucket Policy”
- Click to edit policy and add the below-mentioned content
{
    "Version": "2012-10-17",
    "Id": "PolicyForCloudFrontPrivateContent",
    "Statement": [
        {
            "Effect": "Allow",
            "Principal": {
                "AWS": "arn:aws:iam::cloudfront:user/CloudFront Origin Access Identity EH1FH21HDMBTC"
            },
            "Action": "s3:GetObject",
            "Resource": "arn:aws:s3:::identicalcloud-example-bucket/*"
        }
    ]
}
Here, change your bucket name and your Cloudfront Distribution ID and add this policy to your bucket. and Save it
Now, check with any of your bucket items, if you are able to see it with the S3 Bucket URL or not, try the same with Cloudfront URL as well
Sometimes if cloudfront caching is old, it takes time to propogate, try Invalidation in Cloudfront Distribution to clear cache.
Let us know your views in the comment section below. Please share it with your network.
[References]
Drafted By,
Ishita Shah
Ishita is a DevOps Engineer by Passion and Profession, She loves to travel and believes in solving critical repetitive IT tasks by automating them.
31st May 2022