How to build and deploy Java Springboot application using Docker
Docker is a containerization system that allows us to create containers that are isolated from the environment and destroy them whenever needed. With Docker, it is easy to spin up containers in milliseconds of time and also to delete them. Thus, Docker is one of the most popular tools for the DevOps Team.
Microservices architecture is trending currently, after knowing all benefits it provides, more and more developers, and the DevOps team is diverting in using micro service architecture.
One of the core components for this is getting your code and infrastructure ready to build and deploy such microservices.
In this article, we are going to see step by step guide on how to build a jar file for your java spring boot code and deploy a jar file using Docker which will take less than 5 minutes to implement. Let’s get started
Prerequisite
- Install Docker and Docker Compose
- Know JDK and Gradle version for your code
1. Clone your project
- Clone your project in required directory inside server.
- Checkout required branch
- Make sure Docker is installed in the system
2. Create Dockerfile
At current working directory, where we cloned our code,
- Go inside directory
- Create new
Dockerfile - Paste below-mentioned code
FROM gradle as dependencies
WORKDIR /app
ADD . .
RUN gradle build
FROM openjdk:13.0.2-jdk-slim
WORKDIR /app
COPY --from=dependencies /app/build/libs/spring-boot-0.0.1-SNAPSHOT.jar app.jar
ENV JAVA_OPTS=""
EXPOSE 8080
ENTRYPOINT exec java $JAVA_OPTS -jar app.jar
- Mention
gradleversion as per your project’s requirement
1. Mention gradle version as per your project’s requirement
- I have used latest version, as it’s sample code which works on recent gradle version
- You can find tag for your gradle version from here
2. Add all project files from current directory to Docker container to create a build
- If few files are not required to be copied, you can mention them in
.dockerignorefile
3. RUN gradle command as per your requirement to create Jar file
- Here, as my project is simple, I have taken only
gradle buildcommand which creates Jar file from my source code - You can use
gradle clean buildalso
4. In previous step, our Jar file got created. Now, Let’s again take jdk image and run this jar file
- Choose JDK version as per your project’s requirement
- I have used latest version, you can find tag for your JDK image from here
In this tutorial, we have used multi-stage Dockerfile, in first stage, it will create jar file using gradle image, which we will copy to openjdk image in upcoming steps, and in the end gradle container will be destroyed
Learn more
5. Now, let’s copy jar file created from previous step, and copy it to current openjdk container
- take exact jar filename that will be created from your code, and paste it here with full path in reference to previous container image(gradle)
- You can find this file name from
pom.xmlfile, with mainly 2 tags asartifactIdornameandversion
6. Pass environment variable if required to run this jar file (optional)
7. Expose port number mentioned in your spring boot application. By default it is 8080
8. Finally, paste command to run this jar file
java $JAVA_OPTS -jar app.jarNow, as we have understood this Dockerfile, let’s go ahead, build it and run it
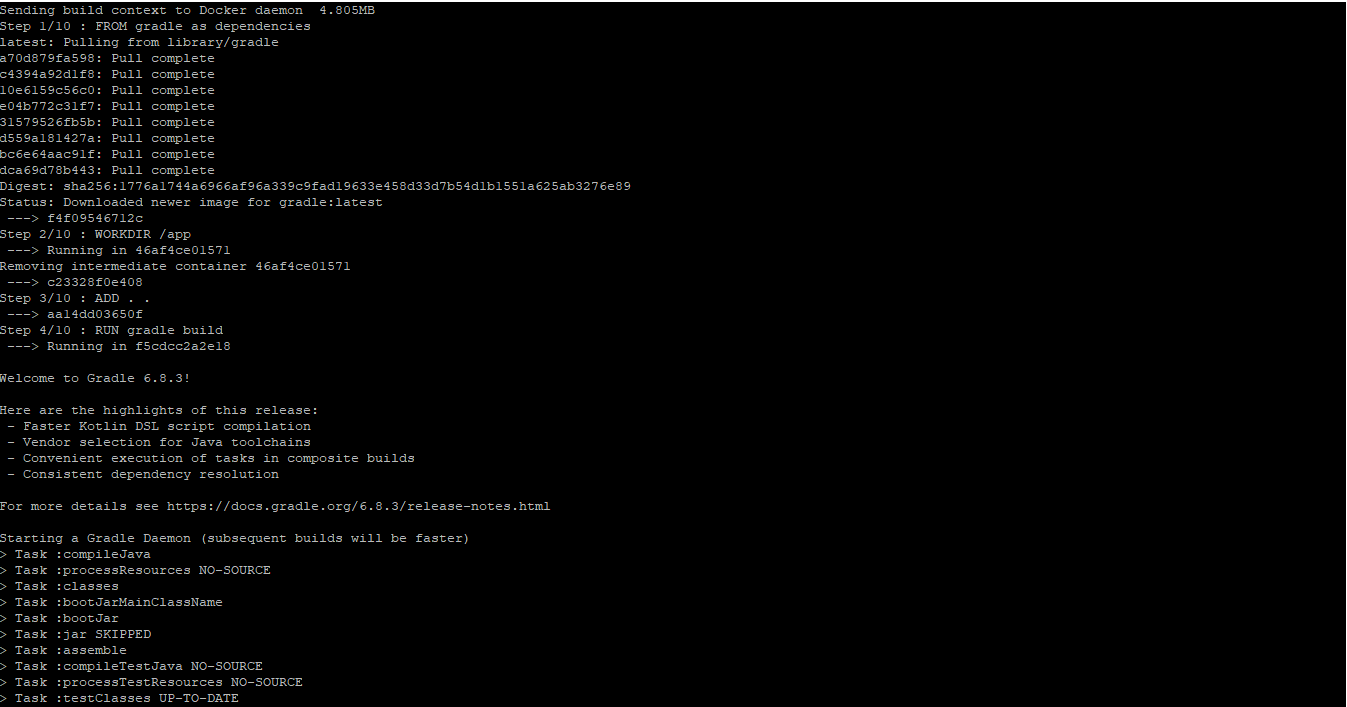
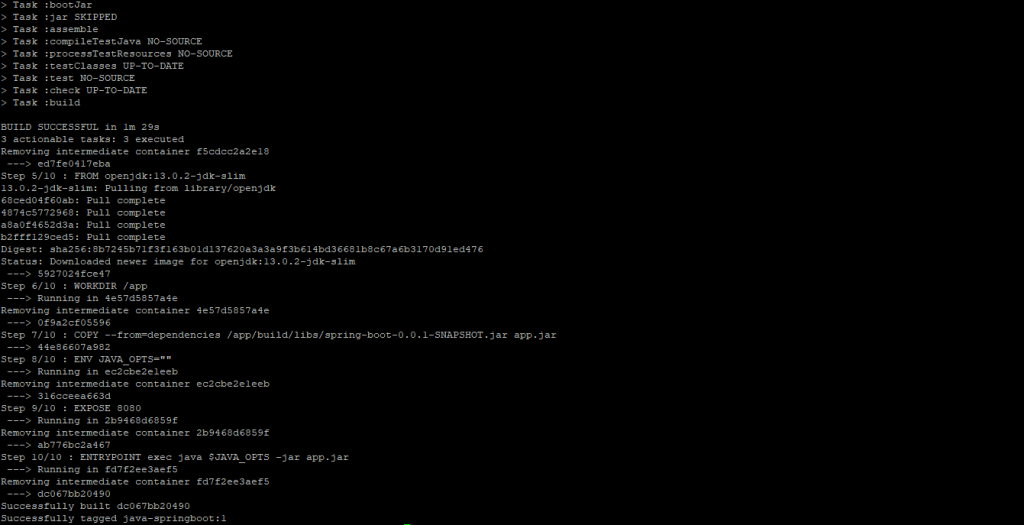
3. Build Dockerfile
To run this Dockerfile, run mentioned command
docker build -t java-springboot:1 . where, java-springboot is your image name and 1 is image tag
After successfully building your java code, let’s deploy it using docker command
4. Deploy Docker image
docker run -d --name java-spring --restart always -p 8080:8080 java-springboot:1here -p contains 2 ports system port and container port, if 8080 port on system is not available, you can change it via changing the first parameter -p 80:8080, it will start serving on system’s 80 port.
It will run your docker container containing your Jar file created from Java Spring boot code
And Done!!!!
5. Automation
You can also automate this use case, using simple shell-script as below
java-deployment.sh
#!/bin/bash

docker build -t java-springboot:latest .
docker rm -f java-spring || date
docker run -d --name java-spring --restart always -p 8080:8080 java-springboot:latest
Here, in the 2nd line, we have used pipeline operator, so even if container is not running, script won’t fail at that step.
6. Test
To test it,
curl localhost:8080
curl $Elastic-IP:8080
If you want to share this Docker image with your teammates or colleagues, simply upload it to Docker hub or AWS ECR and share it, you won’t require to share all source code, only with this Docker image, they will be able to run it.
To know how to upload it to AWS ECR and Docker hub, follow provided links
Share your views about this article in comment section below.
Do share it if you find it useful
Drafted On,
April 11th, 2021
DevOps @ identicalCloud.com
[1] Docker
[2] Install Docker and Docker Compose
[3] What is MultiStage Dockerfile
[4] How to push and pull private docker images on Docker Hub
[5] How to push and pull private docker images on AWS ECR